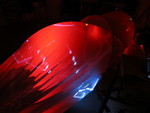
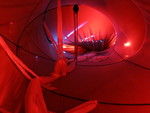
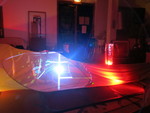
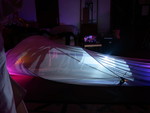
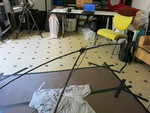
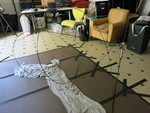
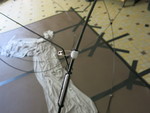
Light design (day 2 at APO33)
For the light, I choose to take an energetic approach: I calculate the energy for each node from the mass of the node and its velocity:
E = m * v^2 / 2
Then as I have four lights, I divide the nodes into four portions and sum the energy over all of them. Then I map this energy to a color hue, so that the color will shift from red to blue as the energy increases.
~energySpec = [1e-6, 500, \exponential].asSpec;

var data = Array.fill(4,{0});
data[0] = 5.collect{ |jt| 5.collect{ |it| ~physics.getParticleParameter( jt, it, \energy ); } }.sum.sum;
data[1] = 5.collect{ |jt| 5.collect{ |it| ~physics.getParticleParameter( jt, it+5, \energy ); } }.sum.sum;
data[2] = 5.collect{ |jt| 5.collect{ |it| ~physics.getParticleParameter( jt+5, it, \energy ); } }.sum.sum;
data[3] = 5.collect{ |jt| 5.collect{ |it| ~physics.getParticleParameter( jt+5, it+5, \energy ); } }.sum.sum;

~colors = ~energySpec.unmap( data ).collect{ |it| Color.hsv( it, 1, 1, 0 ).asArray; };
~colors.do{ |it,i| ~microWashes[i].rgbw_( *it ); };
~setAllLights.value;
This seemed a bit jittery, so I take the mean over the energy, so that the signal gets a bit smoother.


